
01
Photograph the whole area
Take wide views, then closer photos of where the glass will meet the floor, wall, or stairs. Include obstacles and nearby finishes.
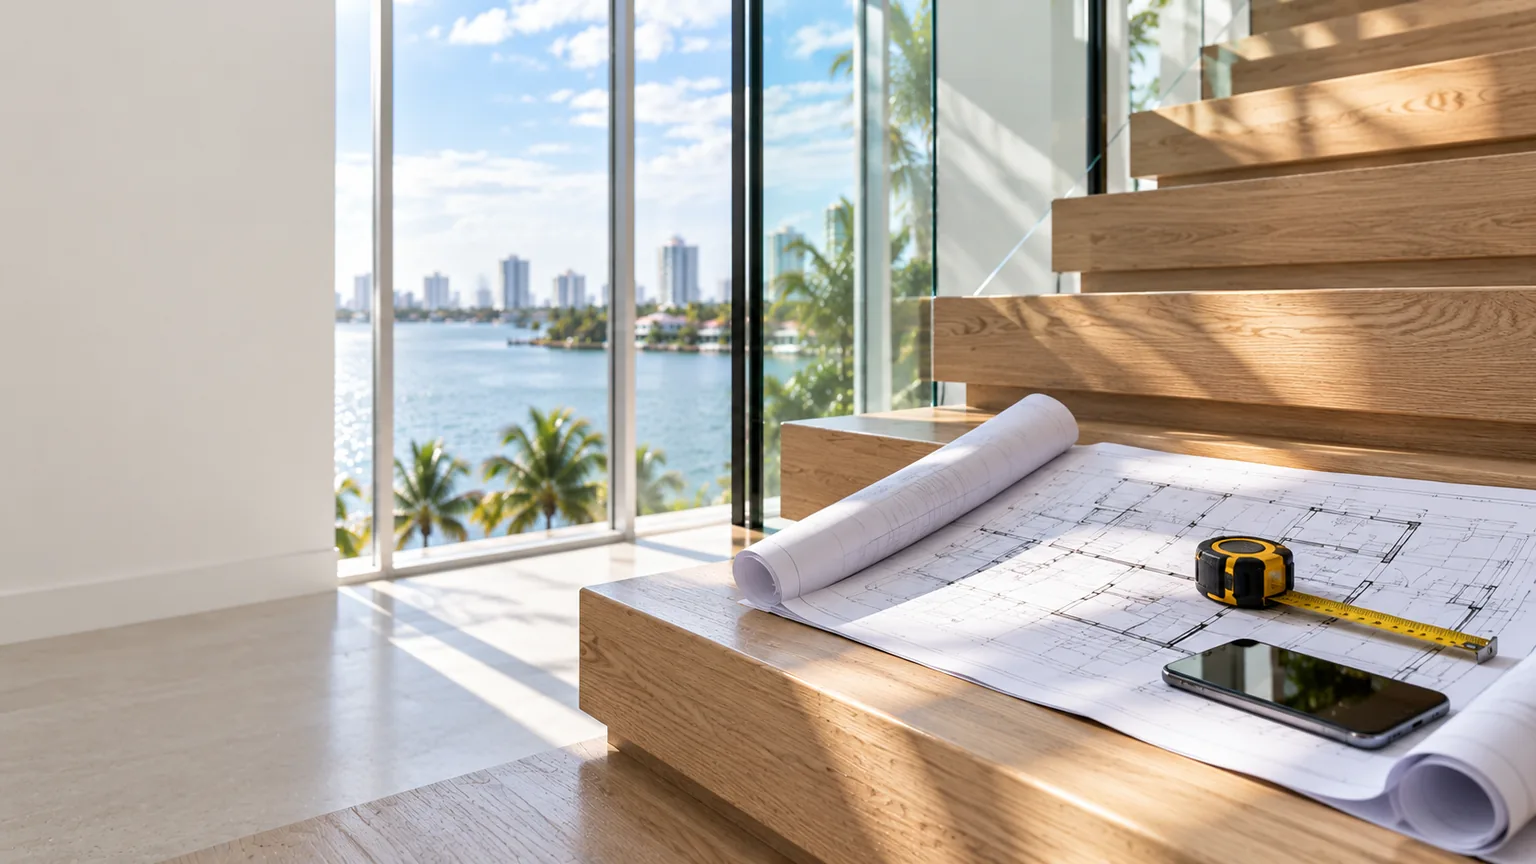
GLASS GUIDE / PLANNING
You do not need a finished specification to start a conversation. A little context helps us ask the right questions.
Broward · Miami-Dade · Palm Beach
Take wide views, then closer photos of where the glass will meet the floor, wall, or stairs. Include obstacles and nearby finishes.
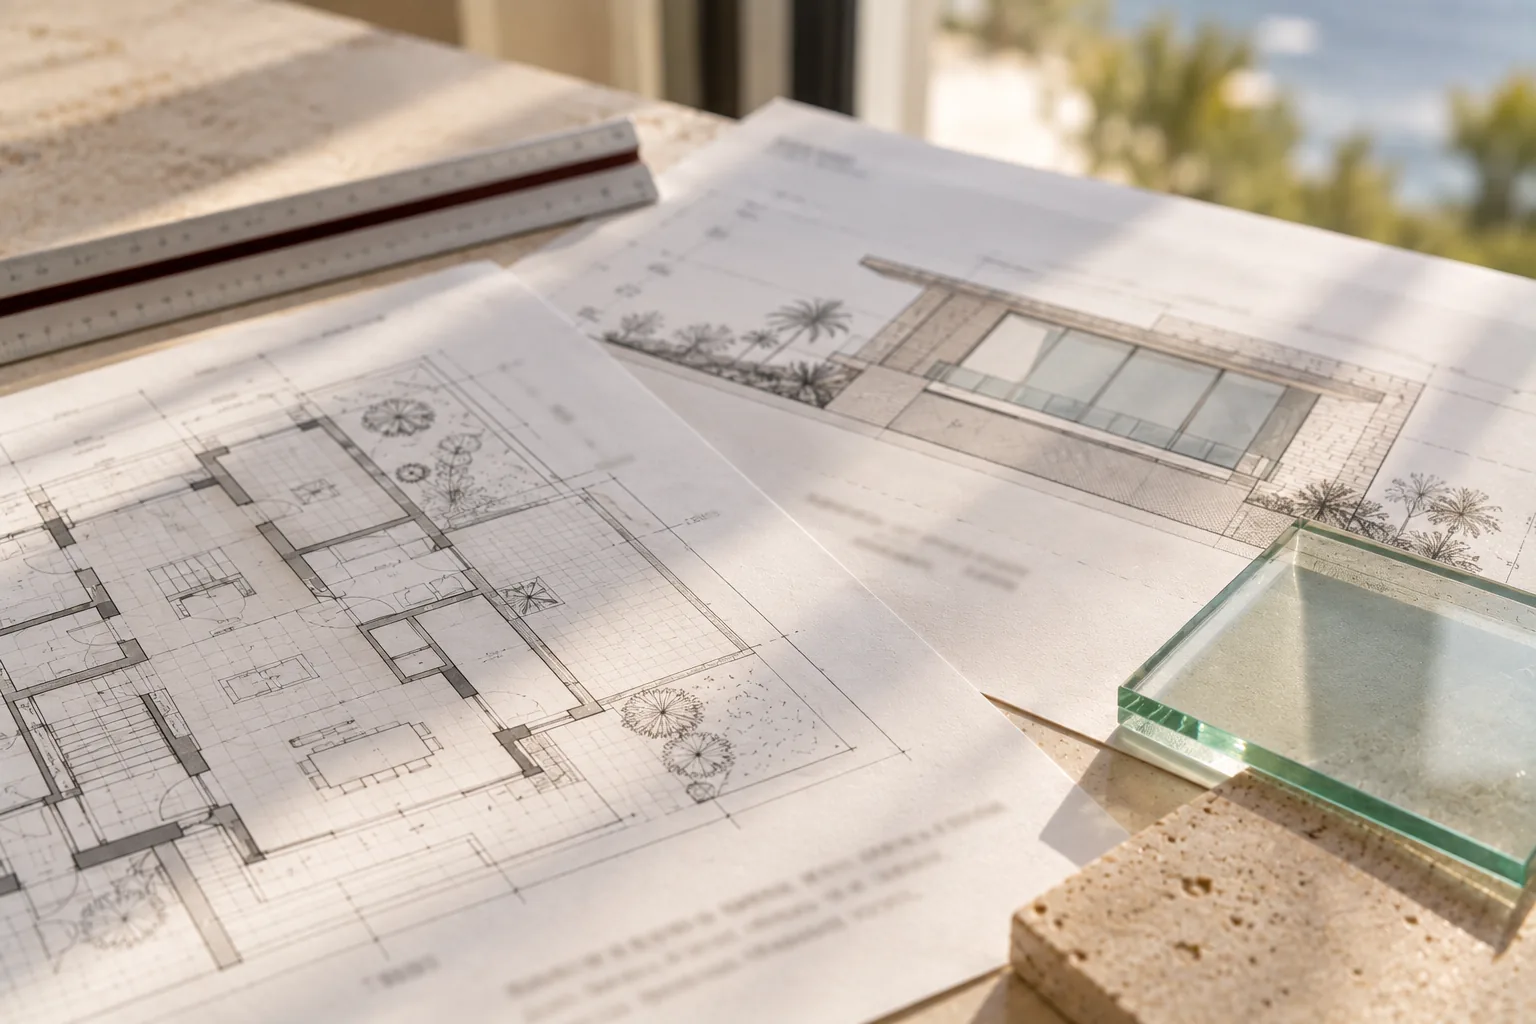
A floor plan, elevations, and any architect or contractor details are helpful. Mark the proposed glass area and include approximate dimensions if available.
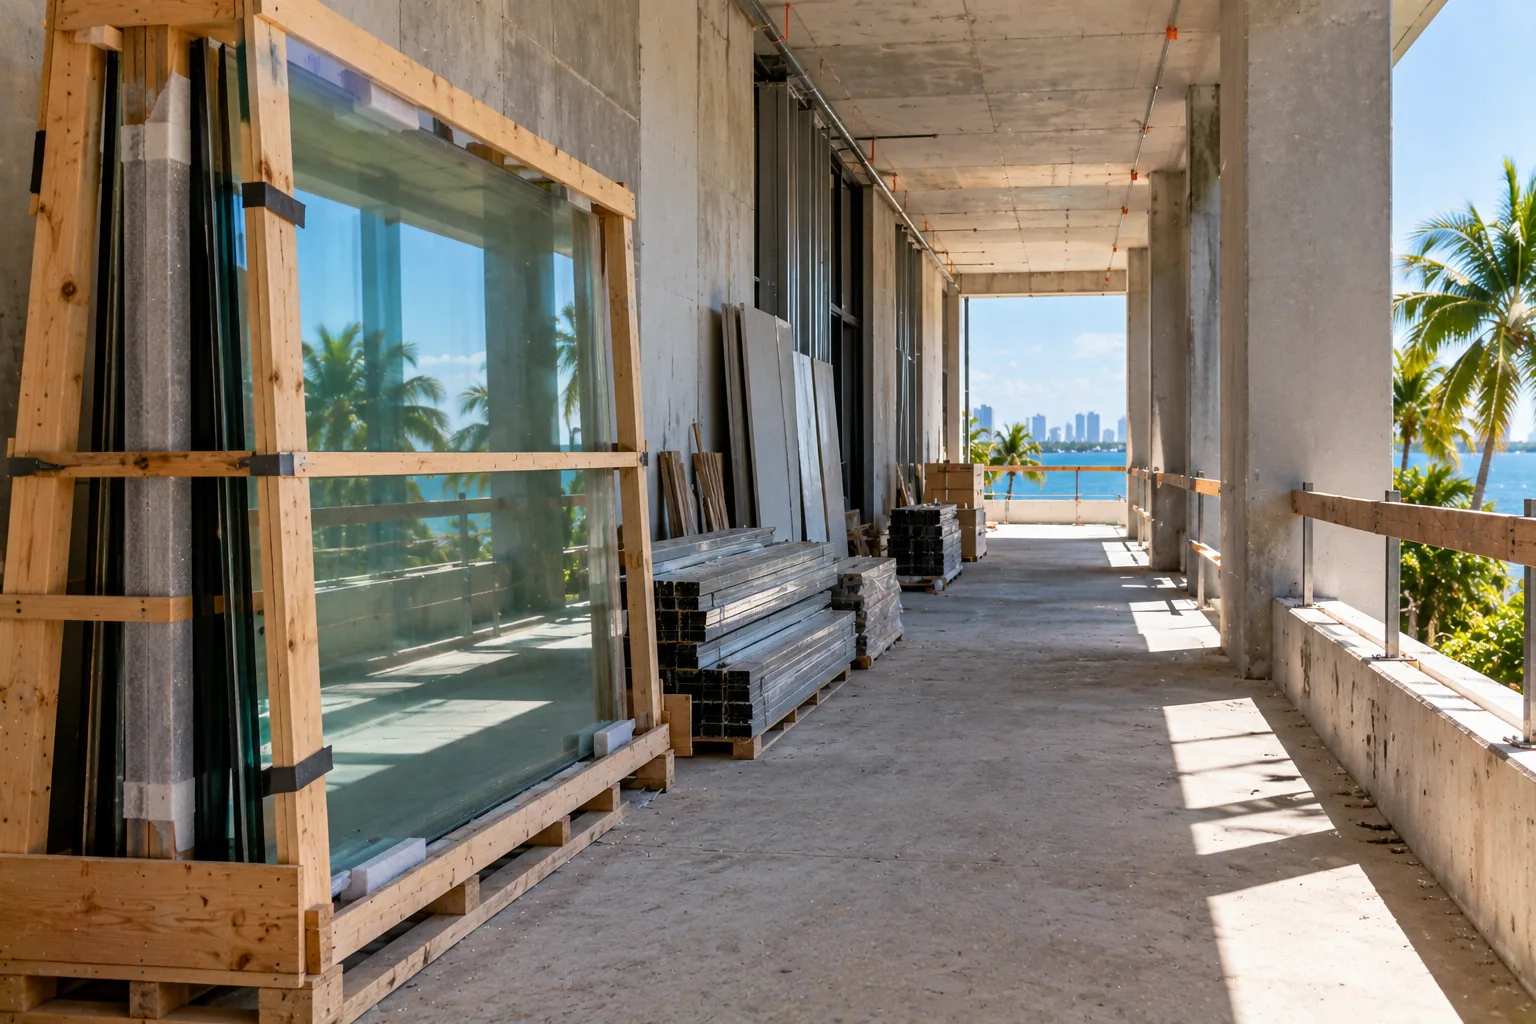
Tell us about other trades, access restrictions, HOA review, and your target date. These details affect the sequence of the work.
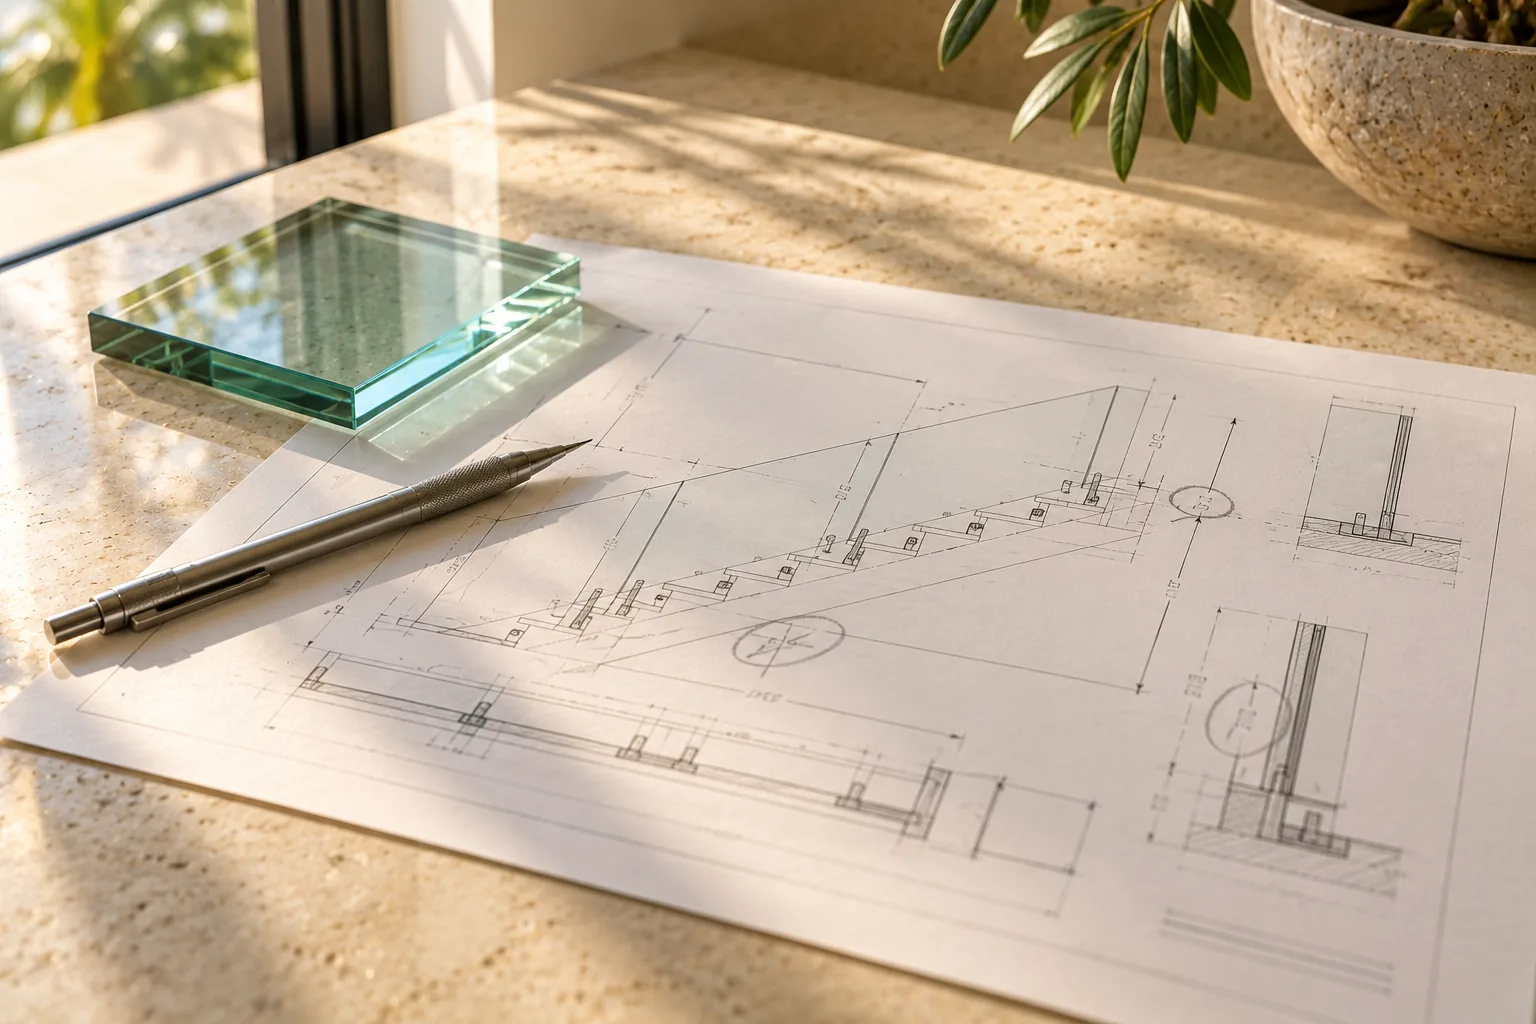
Final measurements, the selected finishes, drawings where required, and the agreed scope should be reviewed before the glass is ordered.

The association review runs on its own calendar and is the most common reason a glass project slips. What a board asks for, and why applications come back.
Getting through the boardKEEP EXPLORING
YOUR NEXT STEP
Which system suits a project depends on the surface it fixes to and how the space is used. Send photographs or a plan and we will go through the options against your own site rather than in general.
(754) 704-2777